
The Ultimate Guide to DIY Hair Protein Treatment at Home
One essential ingredient that often gets overlooked when it comes to achieving luscious and healthy locks is protein. Just like our bodies need protein to stay strong and healthy, our hair also requires this vital nutrient to maintain its strength and vitality. If you want to revitalize your hair and restore its natural shine, a DIY hair protein treatment at home could be the solution you’ve been searching for.
What Is a Protein Treatment?
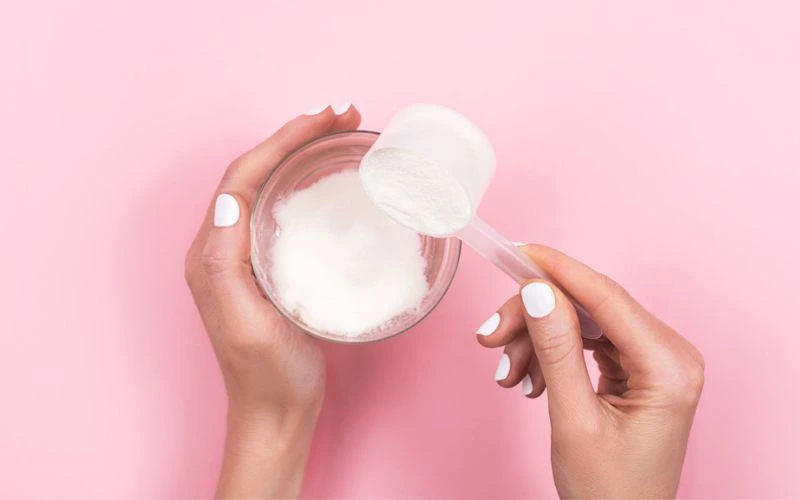
Protein treatment for hair is a specialized product or procedure that aims to replenish and strengthen the protein structure of your hair. Hair is primarily composed of a protein called keratin. Over time, our hair can lose protein due to various factors such as heat styling, chemical treatments, and environmental damage. Hair lacking sufficient protein can become weak, brittle, and prone to breakage. Protein treatments are designed to restore and fortify this protein, helping your hair regain strength and vitality.
Benefits of Hair Protein Treatment
- Strengthening: Protein treatments can fortify your hair, making it less susceptible to damage and breakage.
- Moisturizing: They help retain moisture, making your hair softer and more manageable.
- Enhanced Shine: Protein treatments can add a beautiful luster to your locks, giving them a healthy, glossy appearance.
- Reduced Frizz: These treatments can also help reduce frizz, making your hair look smoother and more polished.
“Protein treatments are like a reset button for your hair, giving it a fresh start and the strength it needs to thrive.” – Hair Specialist, Dr. Emily Adams.
5 Best Protein Treatment Products

Now that you understand the importance of hair protein treatments, let’s explore five of the best products available to help you achieve your hair goals.
Olaplex Hair Perfector No. 3
Key Features:
- Repairs and strengthens damaged hair.
- Reduces breakage and split ends.
- Suitable for all hair types.
Aphogee Two-Step Protein Treatment
Key Features:
- Intensive protein treatment for severely damaged hair.
- Rebuilds hair structure.
- Restores elasticity and shine.
Joico K-PAK Deep-Penetrating Reconstructor
Key Features:
- Repairs and revitalizes damaged hair.
- Adds moisture and shine.
- Ideal for chemically treated hair.
Redken Extreme Anti-Snap Leave-In Treatment
Key Features:
- It prevents breakage and split ends.
- Strengthens hair from the inside out.
- Provides heat protection.
Briogeo Don’t Despair, Repair! Deep Conditioning Mask
Key Features:
- Repairs and restores damaged hair.
- Enhances overall hair health.
- Made with natural ingredients.
How to Perform a DIY Hair Protein Treatment at Home

Now that you know about protein treatments and some of the best products available, let’s dive into the steps for creating your DIY treatment in the comfort of your home.
Step 1: Gather Your Ingredients
Before you start, ensure you have the following ingredients ready:
- Protein treatment product (store-bought or homemade)
- Shampoo
- Conditioner
- Towel
- Shower cap
Step 2: Wash Your Hair
Begin by washing your hair with a mild shampoo to remove dirt, oils, or product buildup. Gently pat your hair dry with a towel, leaving it damp but not soaking wet.
Step 3: Apply the Protein Treatment
Follow the instructions on your chosen protein treatment product, or prepare your homemade treatment. Apply the treatment evenly to your hair, focusing on the ends and damaged areas. Massage it in thoroughly.
Step 4: Cover Your Hair
Cover your treated hair with a shower cap to create a warm and humid environment, which helps the treatment penetrate deeply into the hair shaft. Leave the treatment on for the recommended duration, usually around 20-30 minutes.
Step 5: Rinse and Condition
After waiting, rinse your hair thoroughly with lukewarm water until all the treatment product is washed out. Finish with a conditioner to maximise the benefits and make your hair more manageable.
Step 6: Style as Usual
You can now style your hair as usual, whether you prefer to air dry or use heat styling tools. You’ll notice a significant improvement in the look and feel of your hair right away.
Essential Tips for Success
To ensure the best results from your DIY hair protein treatment, consider the following tips:
- Frequency: Limit protein treatments to once a week or as the product instructions recommend. Overuse can lead to protein overload, which may cause hair to become stiff and brittle.
- Choosing the Right Product: Select a protein treatment that matches your hair type and needs. Protein treatments vary in intensity, so choose one that suits your hair’s condition.
- Balanced Diet: A balanced diet rich in protein, vitamins, and minerals is essential for healthy hair growth from within.
- Protective Styling: Minimize heat styling and use heat-protectant products to prevent further damage.
- Regular Trims: Trim your hair every 6-8 weeks to remove split ends and maintain its overall health.
“DIY protein treatments at home are a cost-effective way to maintain your hair’s health and shine.” – Beauty Blogger, Sarah Collins.
Conclusion
FAQs
Can I use regular conditioner as a substitute for a protein treatment?
While a regular conditioner can provide moisture and temporary smoothing, it doesn’t contain the concentrated proteins needed for deep repair. For optimal results, use a dedicated protein treatment product.
Is it possible to overdo protein treatments, and what are the signs of protein overload?
Yes, overdoing protein treatments can lead to protein overload. Signs include stiff and brittle hair, excessive breakage, and a lack of elasticity. To avoid this, follow the recommended usage guidelines and balance protein and moisturizing treatments.
How long does a hair protein treatment take to see noticeable results?
You can expect noticeable results after just one treatment, with continued improvement as you maintain a consistent regimen. However, individual results may vary based on the condition of your hair.
